How to Building Cement Patio in 7 Easy Steps
Are you looking for a way to improve your backyard and create a cosy and inviting area for relaxing and entertaining? A cement patio might be the perfect solution for you. A cement patio is durable, versatile, affordable, and low maintenance. You can customise it to suit your style and preferences with different colours, textures, and patterns. Plus, you can build it yourself with some basic tools and materials and a bit of time and effort.
In this article, we will show you how to build a stunning cement patio in 7 easy steps. You will learn how to plan and design your patio, prepare the site, pour the concrete, finish the surface, and add some decorative touches. By following these steps, you will be able to transform your backyard into a beautiful and functional outdoor living space. Let’s get started building cement patio!
Building Cement Patio: Plan and Mark the Patio Area
Before you start building your patio, you need to have a clear idea of how big, what shape, and where you want it to be.
- You can use a tape measure, a ruler, or a scale drawing to determine the dimensions of your patio.
- Then, you can choose a shape that suits your preferences and the available space. Some common shapes are square, rectangular, circular, or irregular.
- Once you have decided on the size and shape, you need to mark the perimeter of the patio area on the ground. You can use spray paint, string, and stakes to outline the boundaries of the patio.
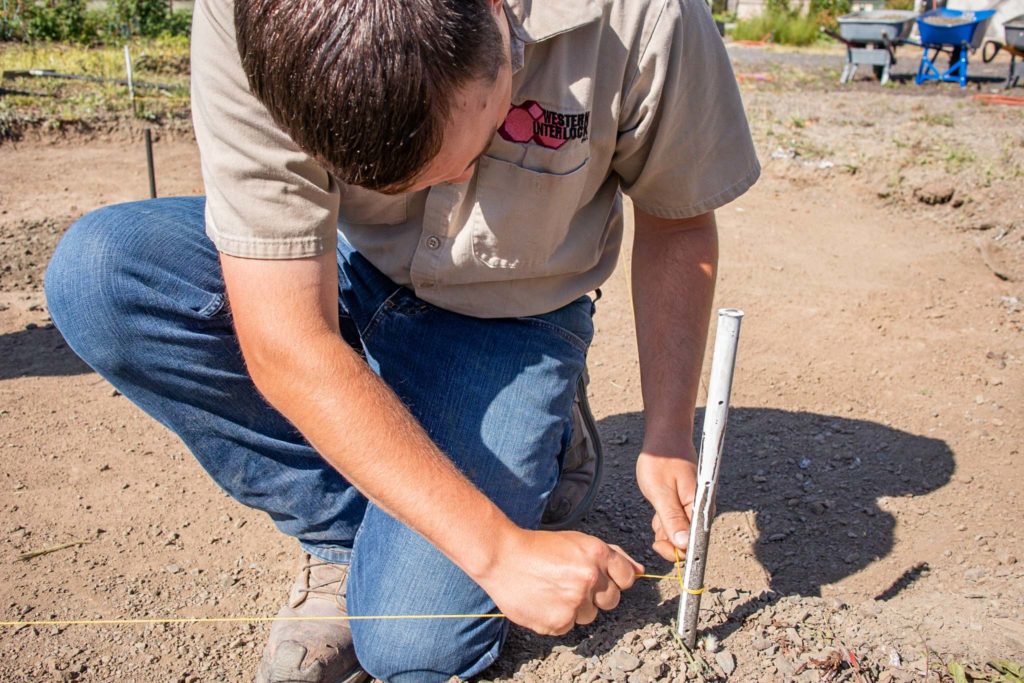
Make sure the area is level and has a slight slope for drainage. A level area will ensure a smooth and even surface for your patio, while a slight slope will prevent water from pooling on the patio. You can use a carpenter’s level or a laser level to check the level of the area. You can also use a line level or a transit level to measure the slope of the area. The slope should be about one inch per four feet of length.
Prepare the site and build the forms.
After you have marked the patio area, you need to prepare the site and build the forms that will hold the concrete in place.
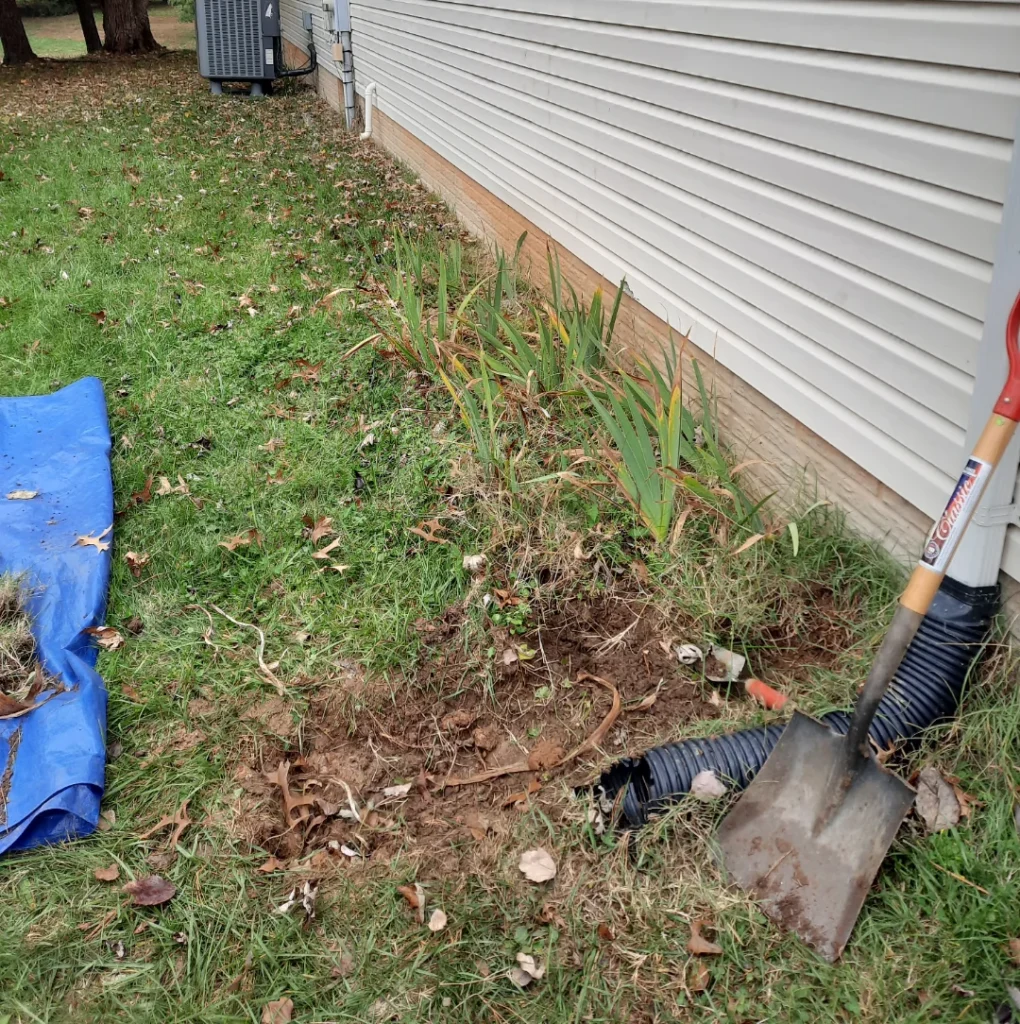
- First, you need to dig out the sod and topsoil within the marked area to a depth of about six inches. You can use a shovel, a spade, or a sod cutter to remove the grass and soil. You should also remove any rocks, roots, or debris from the area.
- Next, you need to compact the soil and spread a layer of gravel over it. Compacting the soil will make it more stable and prevent it from settling or shifting. You can use a hand tamper, a plate compactor, or a roller to compact the soil.
- Then, you need to spread a layer of gravel over the compacted soil. The gravel will provide a base for the concrete and improve the drainage of the patio. You can use crushed stone, pea gravel, or sand as the gravel material. The layer of gravel should be about four inches thick.
- After you have prepared the site, you need to build wooden forms with 2x4s or 2x6s and attach them to wooden stakes around the perimeter. The forms will act as moulds for the concrete and define the shape and thickness of the patio. You can use a circular saw, a mitre saw, or a hand saw to cut the wood to the desired length.
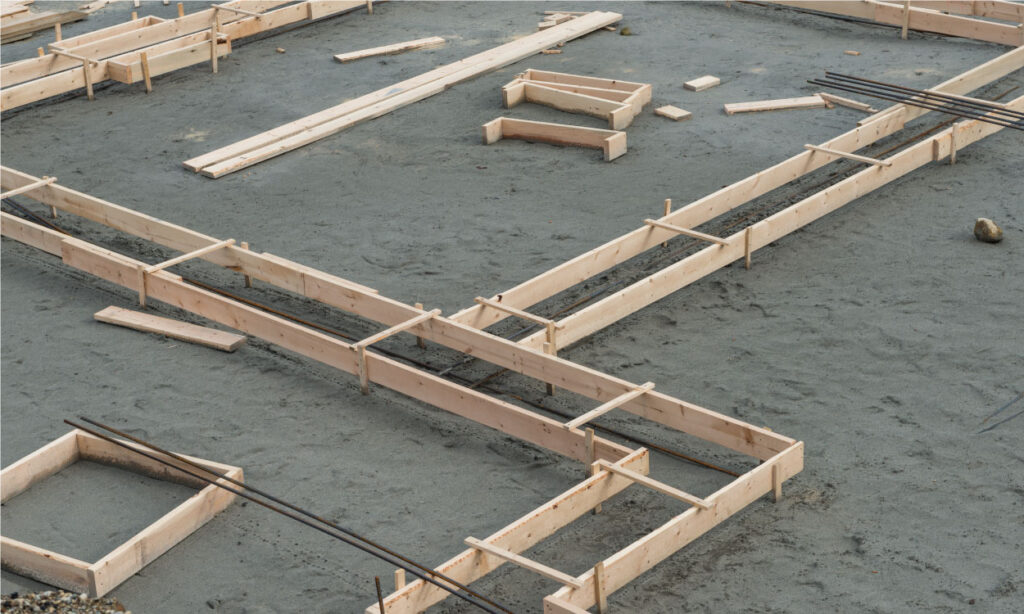
You can also use a drill, a hammer, or a nail gun to attach the wood to the stakes. Make sure the forms are level and aligned with the slope. You can use the same tools and methods that you used to check the levelness and slope of the area. You can also use braces, clamps, or screws to secure the forms and prevent them from moving.
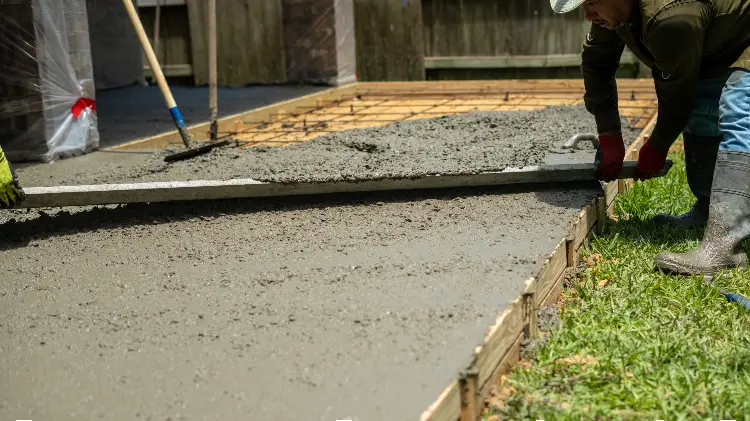
Mix and pour the concrete.
After you have built the forms, you need to mix and pour the concrete that will form the patio. You can either order ready-mixed concrete from a truck or mix your own concrete with a portable mixer. If you order ready-mixed concrete, you need to make sure that the truck can access the site and that you have enough helpers to pour and finish the concrete.
You also need to estimate the amount of concrete that you need and order it in advance. You can use a concrete calculator to determine the amount of concrete that you need based on the dimensions and thickness of your patio. If you mix your own concrete, you need to follow the instructions on the bag and add concrete reinforcing fibres for extra strength.
You can use a portable mixer, a wheelbarrow, or a bucket to mix the concrete. You also need to have enough water, cement, sand, and gravel to make the concrete. You can use a ratio of one part cement, two parts sand, and three parts gravel to make the concrete.
You can also add concrete reinforcing fibres to the mix to make the concrete stronger and more resistant to cracking. You can buy the fibres from a hardware store or a home improvement store. You can also use a shovel, a hoe, or a trowel to mix the concrete. You need to make sure that the concrete is well-mixed and has a smooth and consistent texture.
You also need to make sure that the concrete is not too wet or too dry. You can use a slump test to check the consistency of the concrete. A slump test is a simple method of measuring how much the concrete settles or slumps after being placed in a cone-shaped mould. The ideal slump for a patio is about four inches.
Smooth and edge the concrete.
After you have poured and levelled the concrete, you need to smooth and edge the surface to give it a nice finish. You can use a trowel or a float to smooth the surface of the concrete and remove any air bubbles. A trowel or a float is a tool that has a flat metal blade attached to a handle.
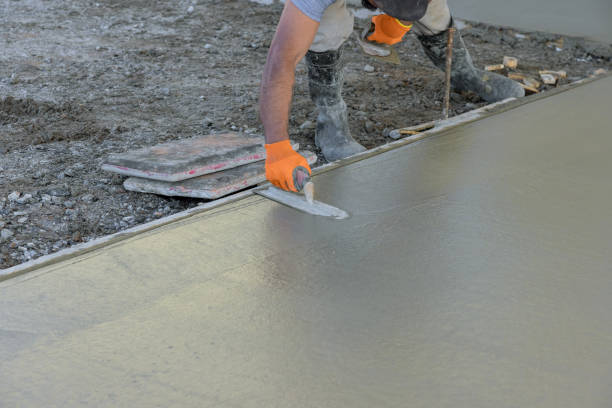
You can use a wood float, a metal float, or a magnesium float to create a smooth and flat surface. You can use a steel trowel, an edging trowel, or a finishing trowel to create a hard and smooth surface. You need to move the trowel or the float across the surface of the concrete, using a circular or sweeping motion, to smooth and compact the concrete.
You also need to use an edging tool to create a rounded edge along the forms. An edging tool is a tool that has a curved metal blade attached to a handle. You need to run the edging tool along the forms, pressing it into the concrete to create a smooth and rounded edge. This will prevent chipping and cracking and give your patio a finished look.
Create joints and texture.
To prevent cracking, you need to create joints in the concrete every four feet or so. Joints are lines or grooves that divide the concrete into sections and allow it to expand and contract with temperature changes.
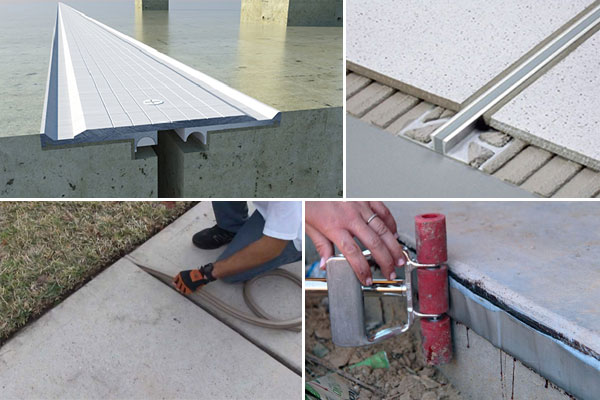
You can use a jointer tool or a groover tool to make straight or curved joints. A jointer tool or a groover tool is a tool that has a metal blade with a V-shaped or U-shaped edge attached to a handle. You need to press the jointer tool or the groover tool into the concrete, following the lines or curves that you want to create joints.
You can also use a masonry saw to cut joints after the concrete has hardened a bit. A masonry saw is a power tool that has a circular blade with diamond or carbide teeth. You need to mark the lines or curves that you want with a chalk or a pencil and then use the masonry saw to cut along them to create joints. To add some texture and interest to your patio, you can use a broom, a brush, a roller, or a stamp to create different patterns on the surface.
A broom, a brush, a roller, or a stamp is a tool that has bristles, fibres, or shapes attached to a handle or a frame. You need to drag or press the broom, the brush, the roller, or the stamp across the surface of the concrete while it is still wet to create different patterns. You can also add colour to the concrete with stains or dyes.
Stains or dyes are liquids or powders that add pigments to the concrete. You can apply stains or dyes to the concrete before or after it has hardened, depending on the type and the effect that you want. You can use a sprayer, a brush, a roller, or a sponge to apply stains or dyes to the concrete, following the instructions on the product.
Cure and seal the concrete.
Concrete needs to be cured slowly and evenly to reach its full strength and durability. Curing is the process of keeping the concrete moist and preventing rapid drying. You can cover the patio with plastic sheets or wet burlap to keep it moist and prevent rapid drying.

Plastic sheets or wet burlap are materials that trap moisture and slow down evaporation. You need to place plastic sheets or wet burlap over the patio, making sure that they cover the entire surface and the edges. You also need to secure them with weights, tape, or stakes to prevent them from blowing away. You can also spray it with water every day for a week.
Spraying water is another way of keeping the concrete moist and preventing rapid drying. You need to use a hose, a sprayer, or a sprinkler to spray water over the patio, making sure that it is evenly wet. You need to do this every day for a week or until the concrete has cured.
After the concrete has cured, you can apply a sealer to protect it from stains, weather, and wear and tear. A sealer is a liquid or a paste that forms a protective coating over the concrete. You can choose a sealer that is clear or coloured, matte or glossy, depending on the look that you want. You need to use a sprayer, a brush, a roller, or a sponge to apply the sealer to the concrete, following the instructions on the product. You need to let the sealer dry completely before using the patio.
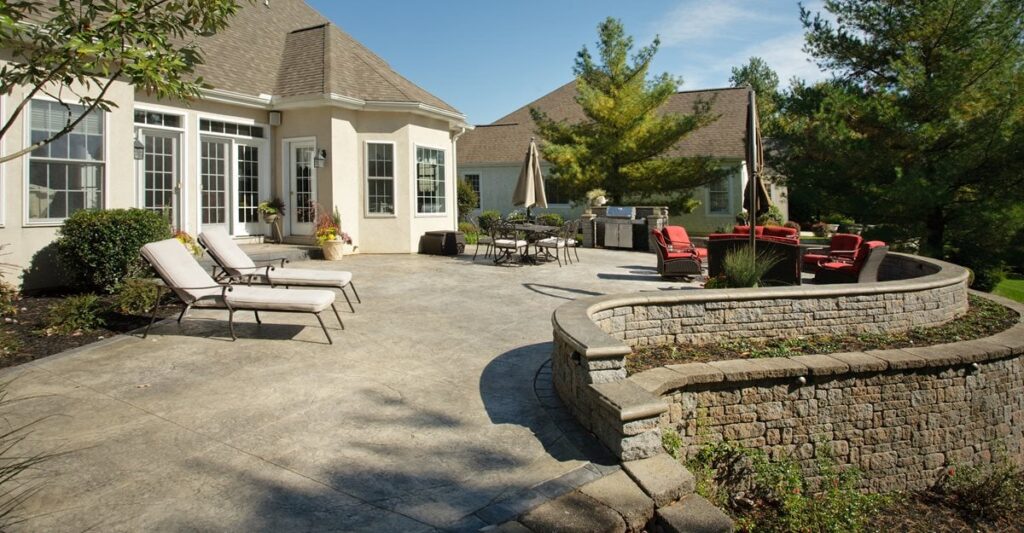
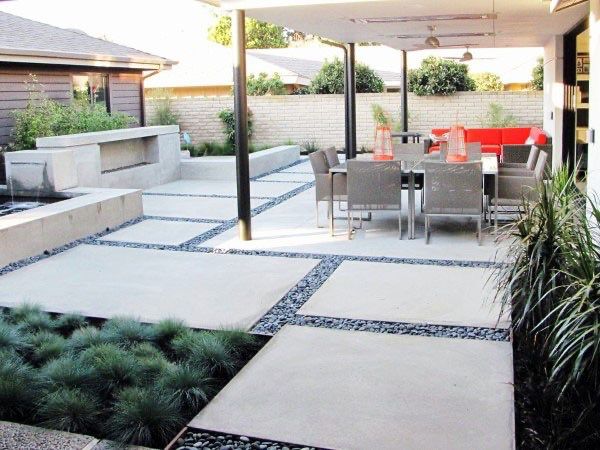
Enjoy your stunning cement patio.
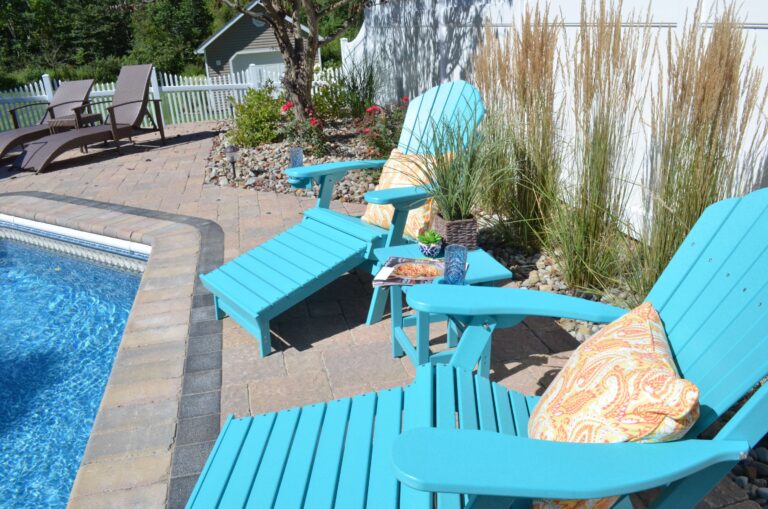
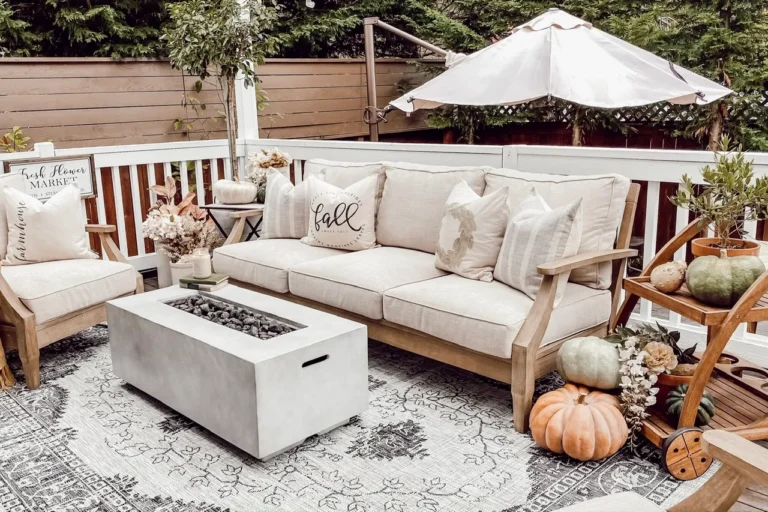
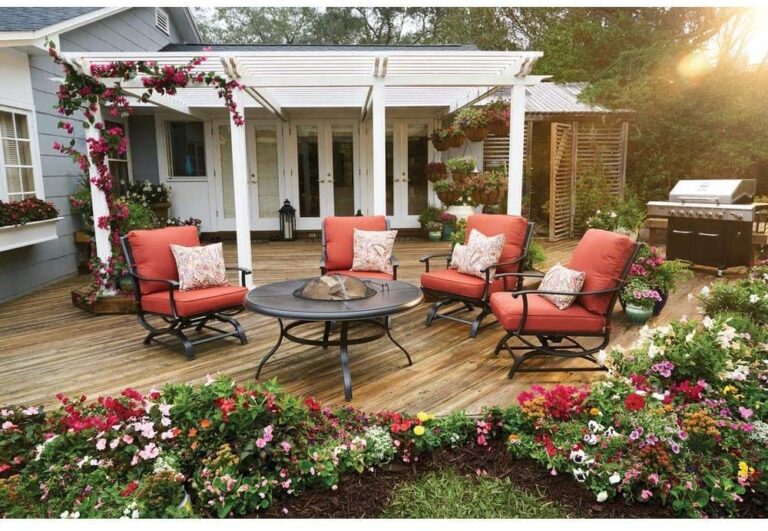
You have successfully completed the project of building your own cement patio. You can now remove the forms and the stakes that held the concrete in place. You can also fill the gaps between the patio and the ground with soil or gravel to make it look neat and tidy. You can also add some landscaping, such as plants, flowers, or rocks, to enhance the beauty and naturalness of your patio. You can also add some furniture, such as chairs, tables, etc.
Final Analysis
Building cement patio in 7 easy steps is a rewarding and fun DIY project that can transform your outdoor living space. By following the steps of planning, marking, preparing, pouring, smoothing, edging, jointing, texturing, curing, and sealing, you can create a durable and beautiful patio that suits your preferences and style. You can also customize your patio with different shapes, colors, patterns, and accessories to make it more inviting and comfortable. Enjoy your new patio and impress your guests with your DIY skills.
Disclosure: Our blog contains affiliate links to products. We may receive a commission for purchases made through these links. However, this does not impact our reviews and comparisons. We try our best to keep things fair and balanced, in order to help you make the best choice for you.