DIY Wrought Iron Patio Furniture Projects
Creating your own wrought iron patio furniture is a fulfilling project that can enhance the beauty and functionality of your outdoor space. With the right tools, materials, and guidance, you can craft stunning pieces that reflect your style and creativity. This article will walk you through the entire process, from gathering the necessary tools and materials to completing your projects with expert finishing and painting techniques.

Tools and Materials Needed
Essential Tools
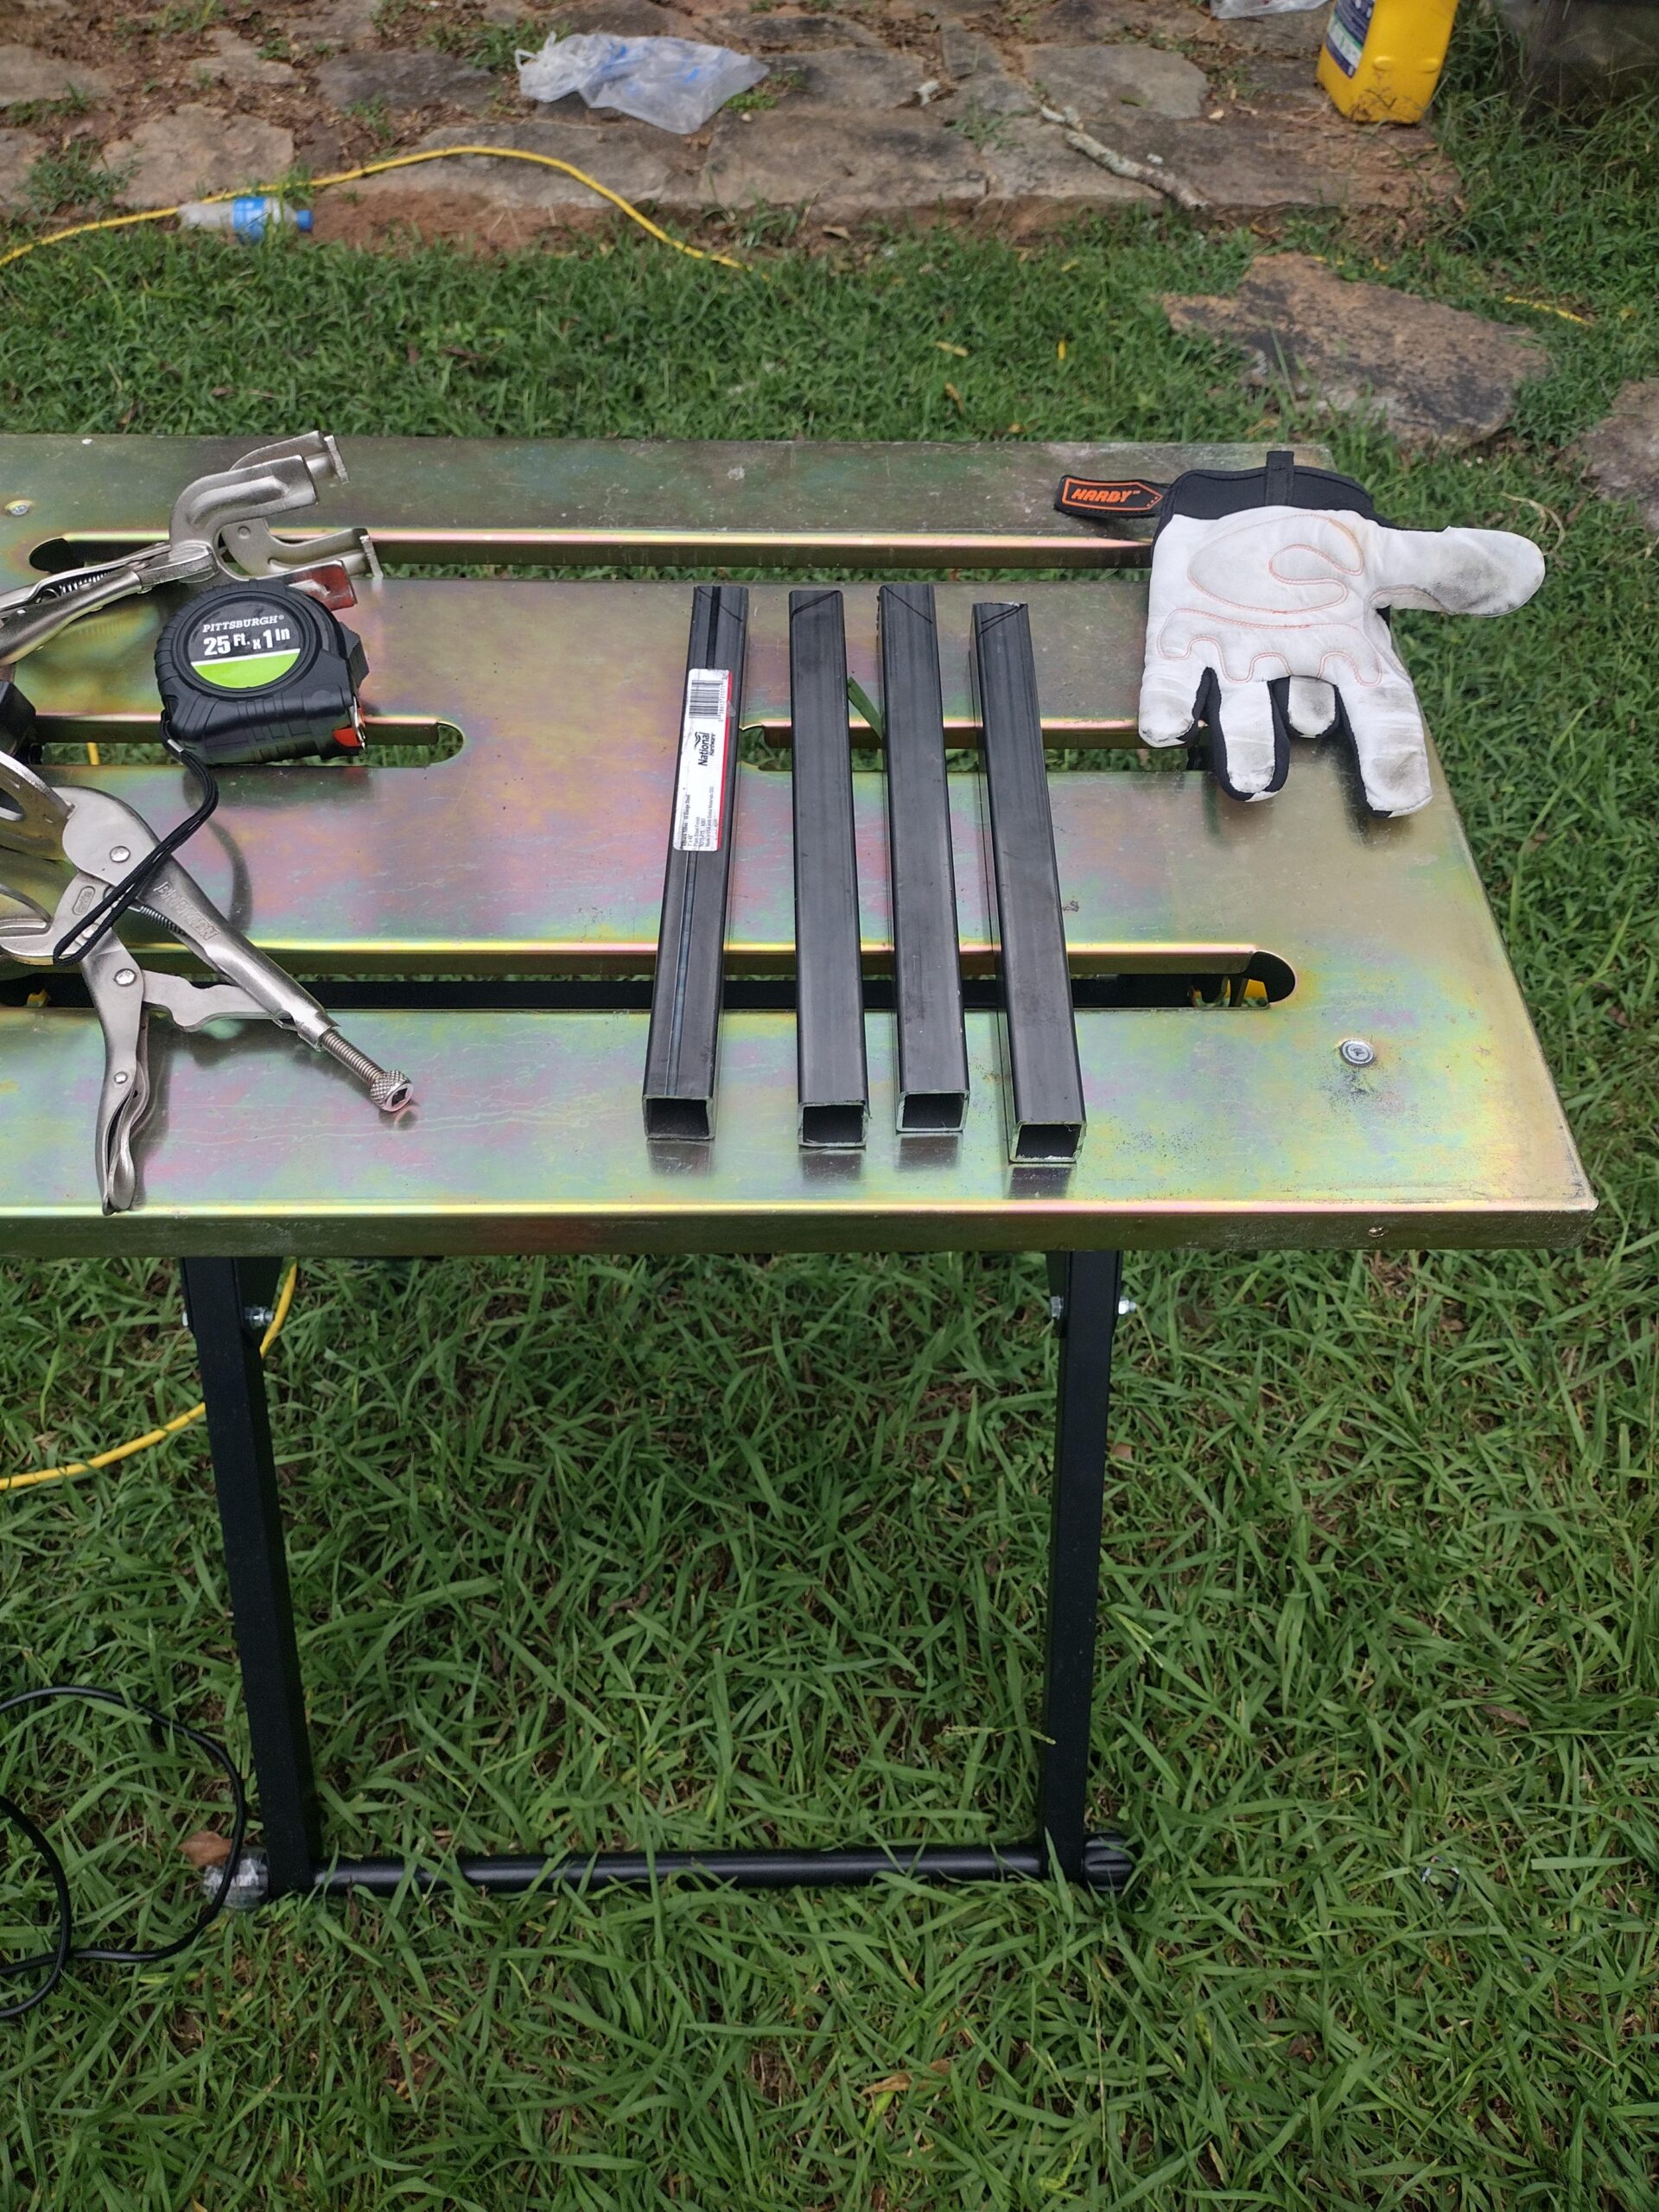
To embark on your DIY wrought iron patio furniture project, you’ll need a selection of essential tools. These tools will ensure that you can cut, bend, weld, and finish your wrought iron pieces effectively and safely.
- Angle Grinder: Perfect for cutting and shaping iron.
- Welding Machine: Essential for joining pieces of wrought iron.
- Safety Gear: Include gloves, goggles, and welding masks.
- Measuring Tape: For precise measurements and dimensions.
- Clamps: To hold pieces steady during welding.
- Metal File: For smoothing out rough edges.
Sourcing Materials
Choosing the right materials is crucial for the success of your project. Wrought iron is the primary material, but you’ll need additional supplies to complete your furniture pieces.
- Wrought Iron Rods and Sheets: Available at hardware stores or specialized metal suppliers.
- Sandpaper: Various grits for surface preparation.
- Primer and Paint: Suitable for metal surfaces to prevent rust and add color.
- Wood (Optional): For incorporating wooden elements in your designs.
- Fasteners and Hardware: Screws, bolts, and nuts for assembling parts.
For a comprehensive guide on choosing, maintaining, and styling wrought iron patio furniture, check out our Ultimate Guide to Wrought Iron Patio Furniture. This guide provides detailed insights and tips that can help you make the most out of your DIY projects.
Step-by-Step Guide to DIY Projects
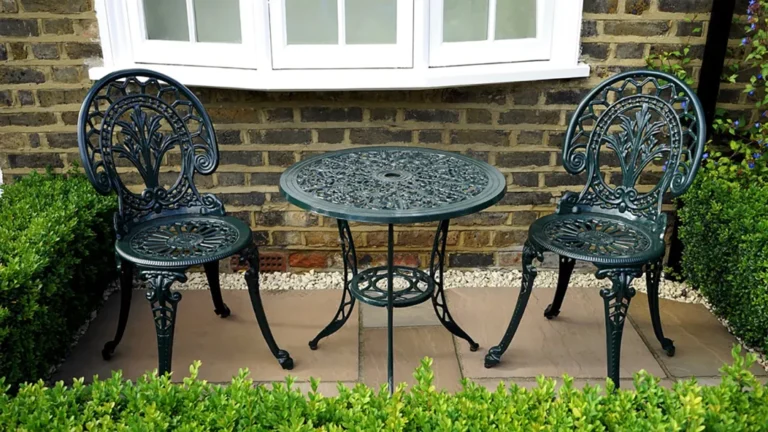
Simple Chair Design
Creating a wrought iron chair is an excellent starting project. Follow these steps to build a simple yet elegant chair:
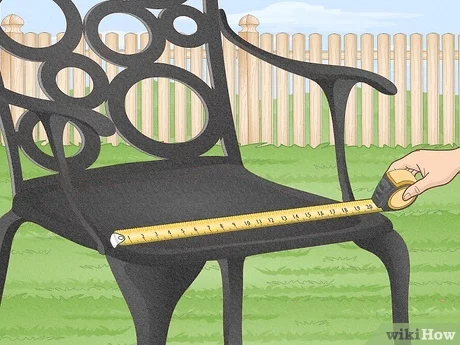
- Design and Measure: Sketch your chair design and measure the dimensions. Typical chair height is about 18 inches.
- Cutting Iron Rods: Use the angle grinder to cut the wrought iron rods according to your measurements.
- Bending and Shaping: Bend the rods to form the legs, backrest, and seat frame. Clamps can help hold the rods in place.
- Welding: Weld the joints securely. Make sure to wear your safety gear and work in a well-ventilated area.
- Sanding and Smoothing: Smooth all rough edges with a metal file and sandpaper.
Crafting a Table
A wrought iron table complements your chair and adds functionality to your patio. Here’s how to make one:
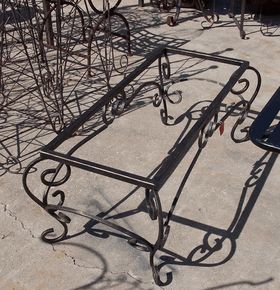
- Plan and Design: Determine the table size and style. A common table height is about 30 inches.
- Cutting Iron Sheets: Cut the iron sheets for the tabletop and legs using an angle grinder.
- Forming the Frame: Bend and shape the iron rods for the table frame and legs. Ensure they are symmetrical and level.
- Welding the Structure: Weld the frame, legs, and tabletop together. Check for stability and make adjustments if necessary.
- Sanding and Finishing: Smooth all edges and surfaces.
Finishing and Painting Techniques
Surface Preparation
Proper surface preparation is key to achieving a durable and attractive finish on your wrought iron furniture.
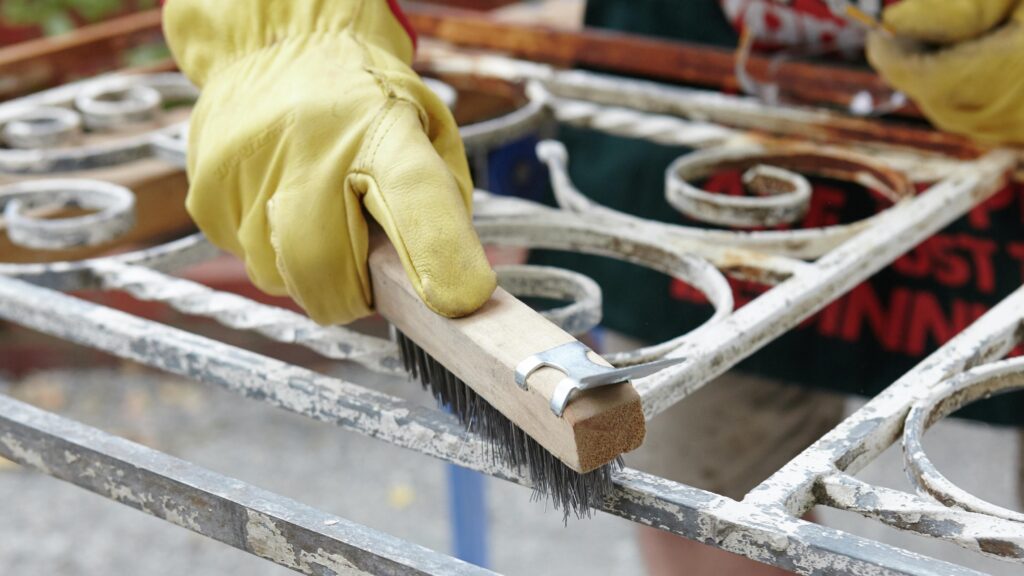
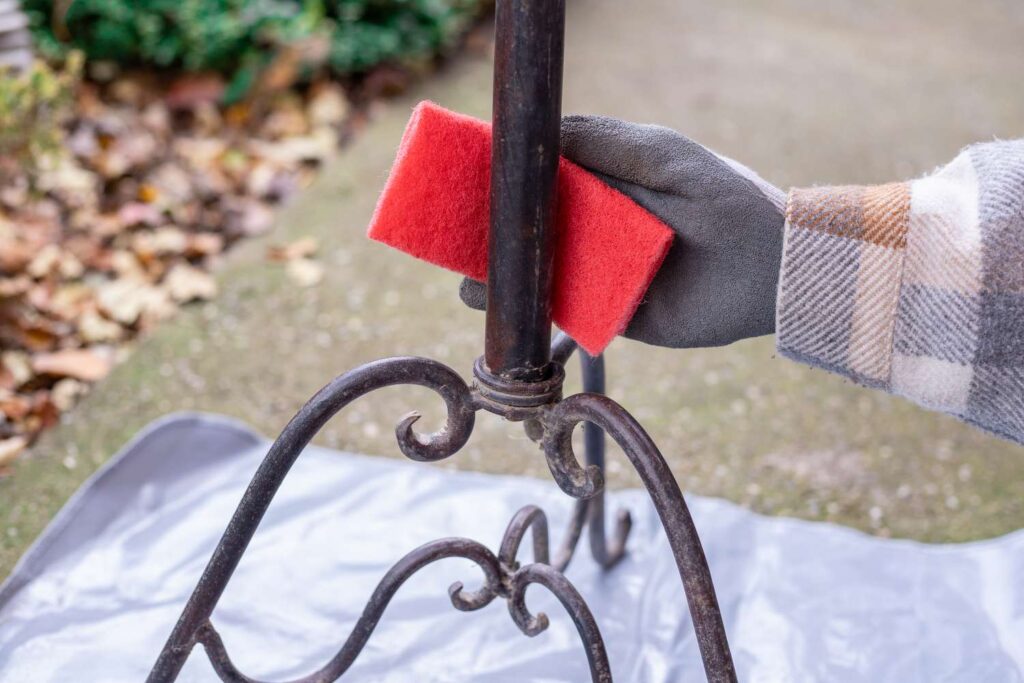
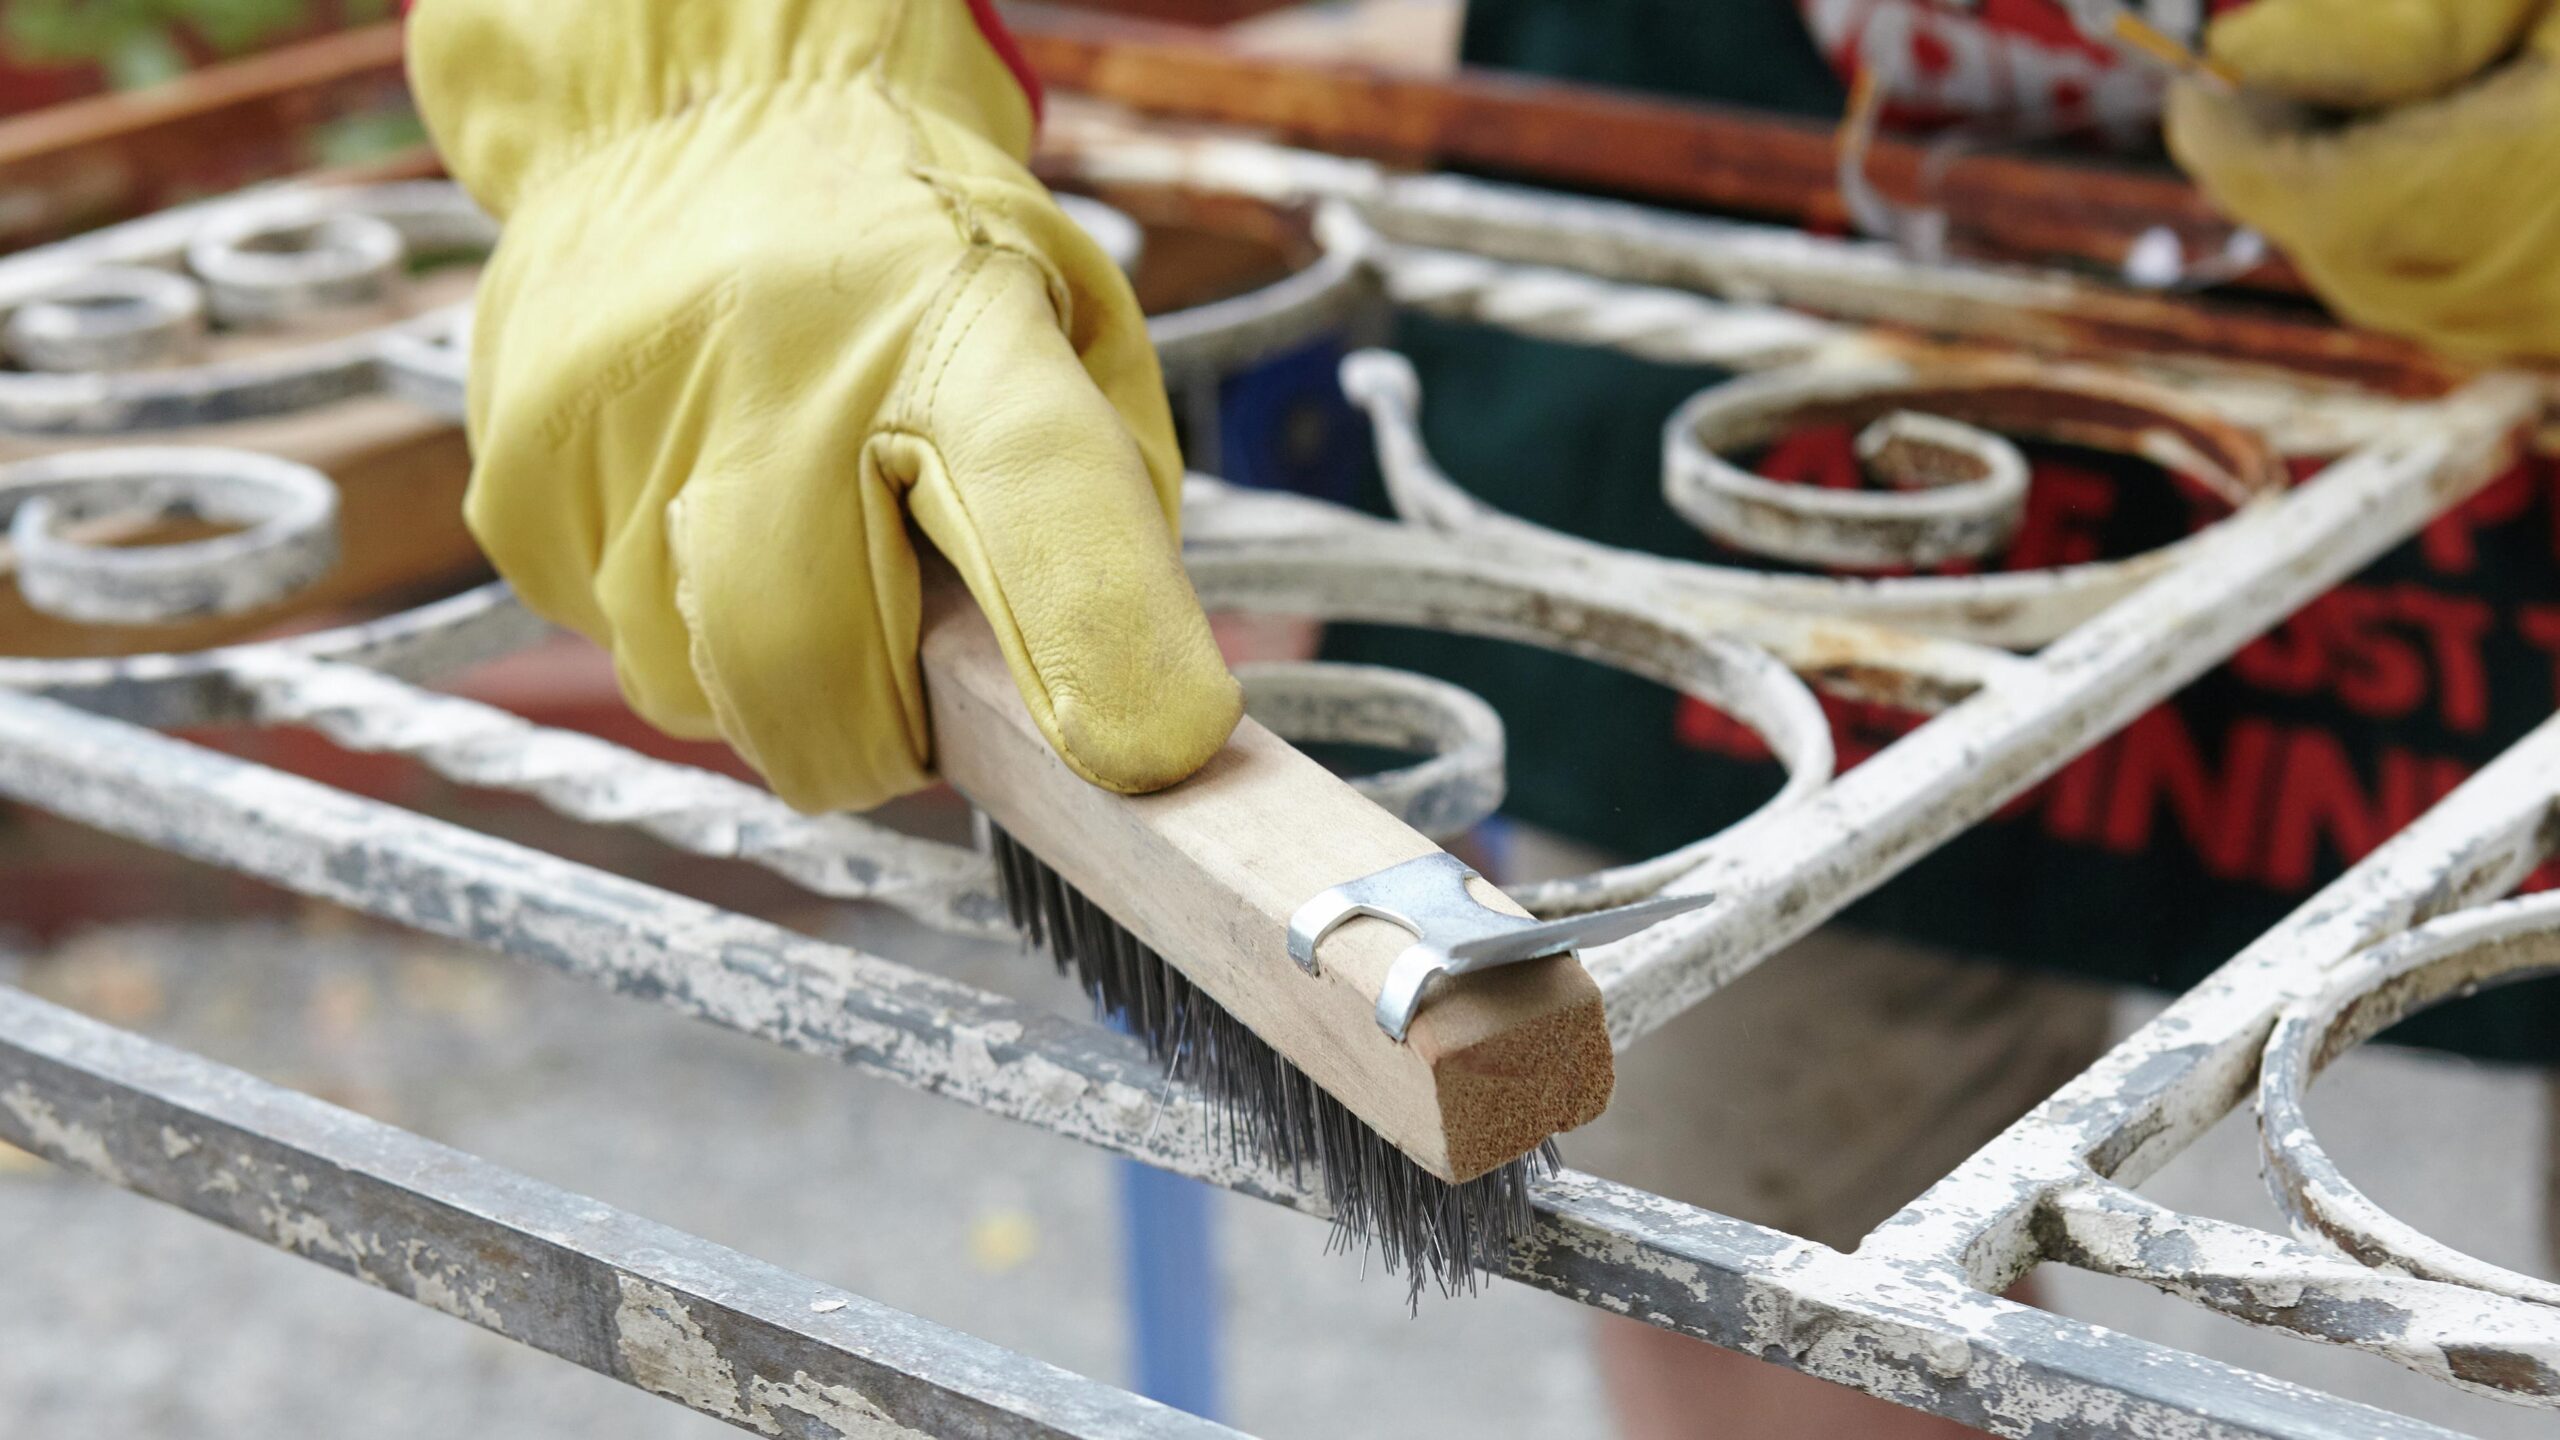
- Cleaning: Remove any rust, dirt, or grease from the surface using a wire brush and mild detergent.
- Sanding: Sand the entire surface with medium-grit sandpaper to create a smooth base.
- Priming: Apply a coat of metal primer to prevent rust and enhance paint adhesion.
Painting Tips
Painting your wrought iron furniture not only protects it from the elements but also allows you to express your style.
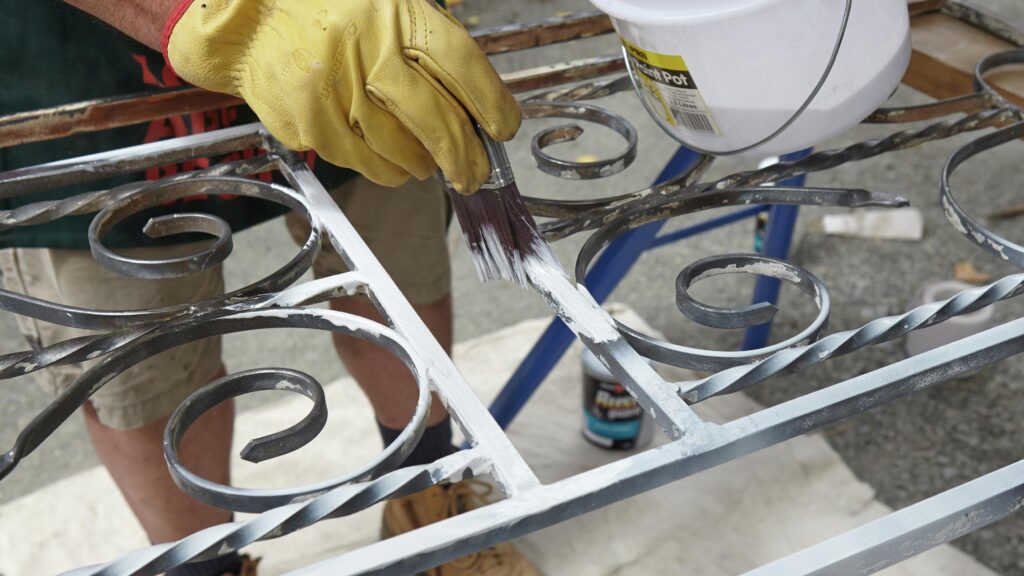
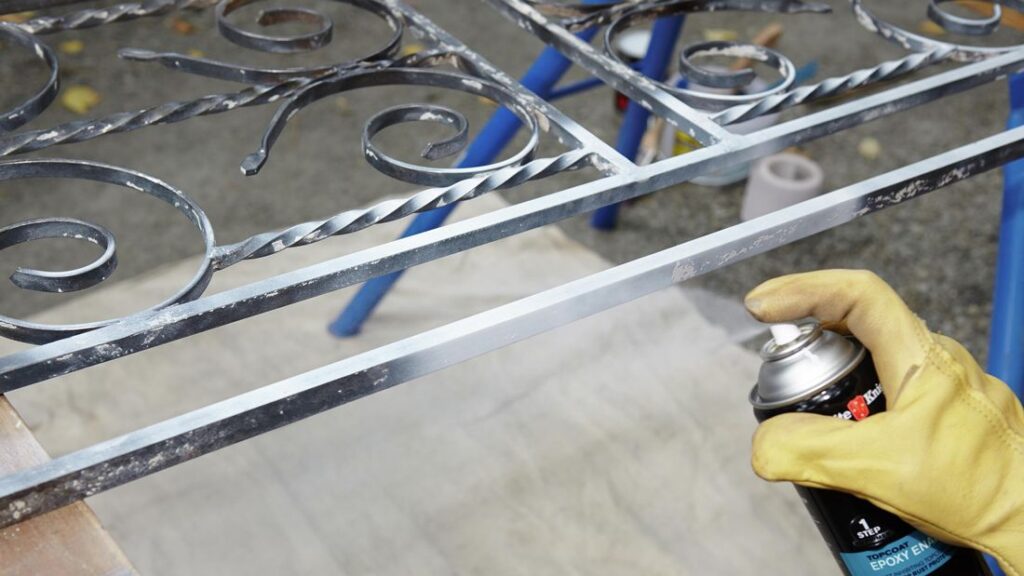
- Choose the Right Paint: Use paint specifically designed for metal surfaces. Rust-resistant paint is ideal for outdoor furniture.
- Application: Apply the paint using a brush or spray can. Multiple thin coats are better than one thick coat.
- Drying and Curing: Allow each coat to dry thoroughly before applying the next. Follow the manufacturer’s instructions for curing time.
- Sealing: Consider applying a clear sealant to protect the paint and give your furniture a glossy finish.
Creating wrought iron patio furniture can be a rewarding project that adds a personal touch to your outdoor space. By following these steps and using the right tools and materials, you can craft durable and beautiful pieces that will last for years. Whether you start with a simple chair or a complete table set, the satisfaction of creating your own furniture is unparalleled. If you want to learn more you
FAQs
Disclosure: Our blog contains affiliate links to products. We may receive a commission for purchases made through these links. However, this does not impact our reviews and comparisons. We try our best to keep things fair and balanced, in order to help you make the best choice for you.


One Comment